It is well known that the best toy for a 6 year old is a huge cardboard box. Usually, I just cut windows and doors and we paint stuff on the walls, but this time, my daughter wanted a rocket. We had already a few flattened boxes and the boxes where very flat, so this time, we worked a more basic component: cardboard plates. But how do we assemble them?
I had already tried duct tape and rope, when my daughter came with her toy toolbox, the E3001 Fix-it toolbox from Hape, to be precise. I never paid much attention to that toolbox, it was a nice toy, but I never saw how this could be used to build something. It turns out, the three screws and matching nuts are perfect to attach large cardboard panels. But you don’t build a rocket with three screws.
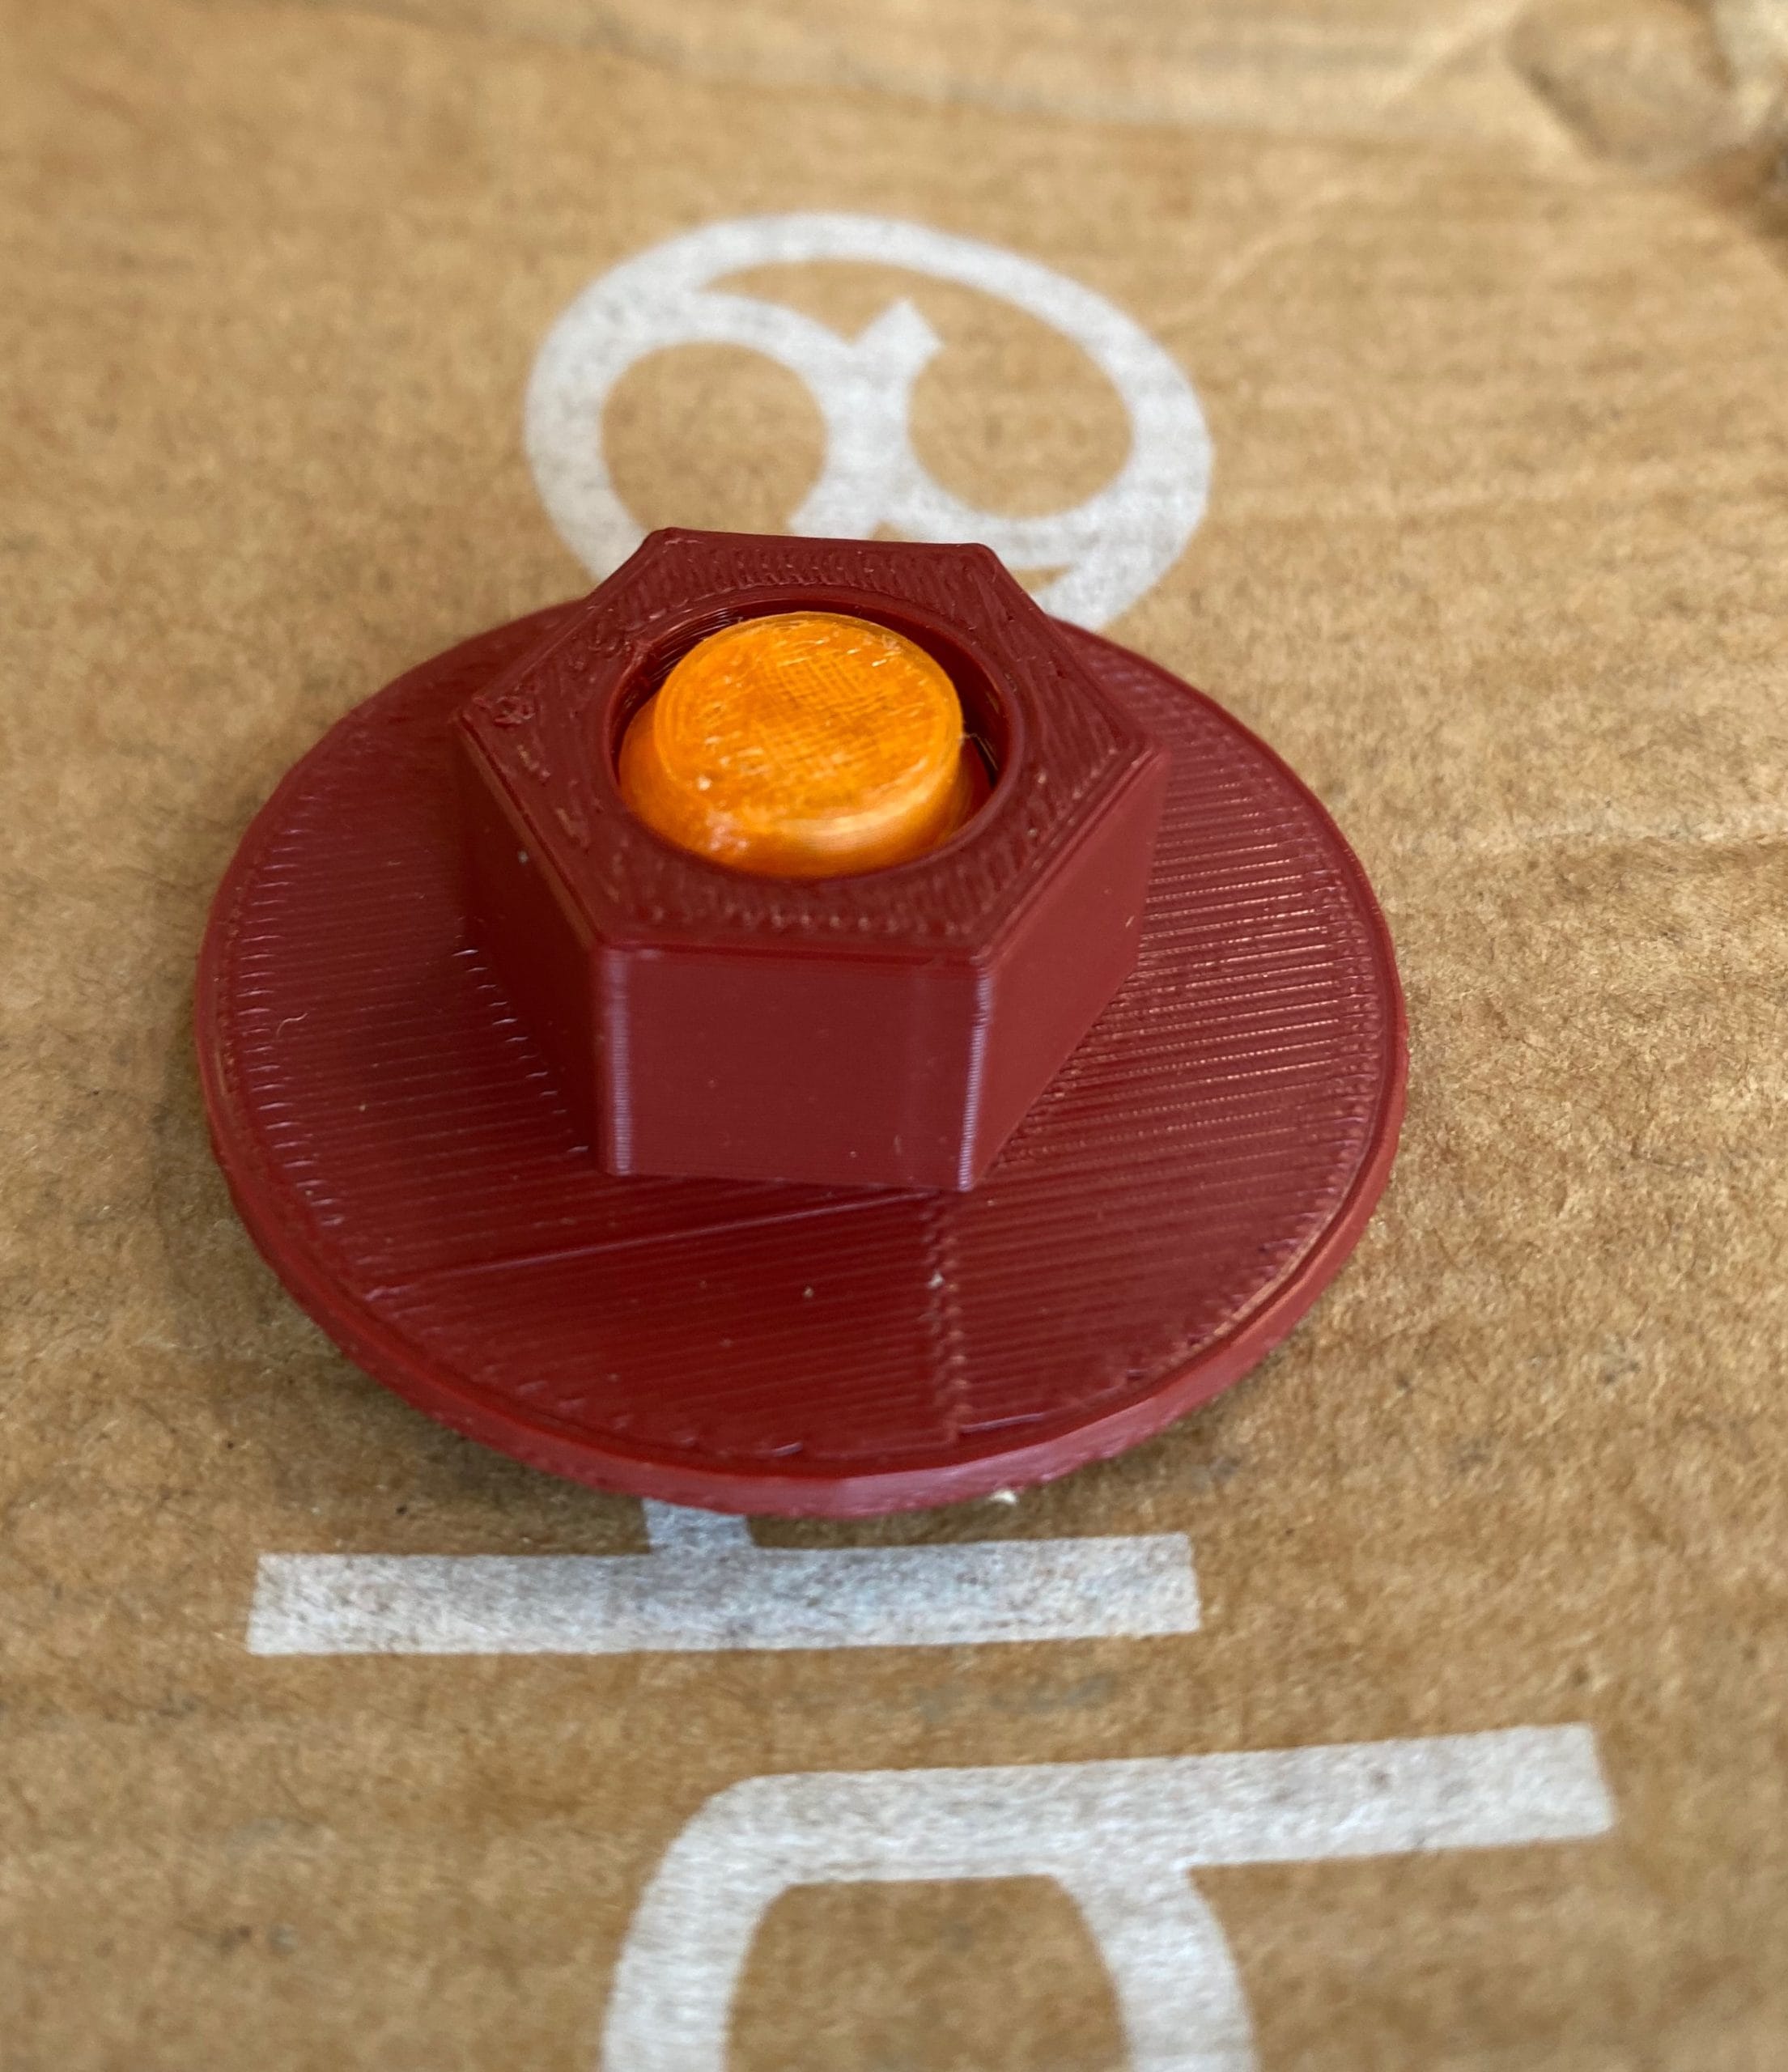
So I turned to the internet and discovered models for nuts and bolt which are compatible with another line from Hape, the Junior Inventor toys. These have similar nuts and bolts, but the screws have torx like heads, and my daughter only has a flat screw-driver and a wrench So I remixed these files to produce a nut and a bolt, the bolt has a hexagonal head with a straight slot, so it can be used with the screwdriver and the wrench. The bolt keeps the same hexagonal shape, but has a larger flat rim to hold the cardboard better.
Both the nut and the bolt can be downloaded from Tinkercad under a Creative Common license.
This was exactly what I was looking for, since my kid has managed to lose all three nuts from the toolkit. Thank you!